In order to PUBLISH workflows, you will need to establish a workflow trigger and a workflow action. Without both, you will only be able to save the workflow, not publish it.
This action sends a notification to someone other than the contact.

Type Of Notification
From Name
Input the name of the Sender in this field. YOu can also click on the tag icon to use the custom value.
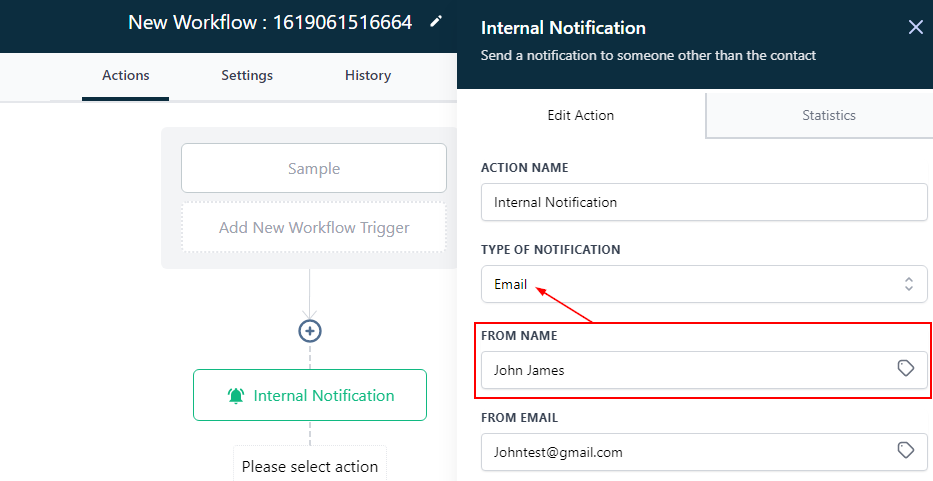
From Email
Input the Sender's email here.

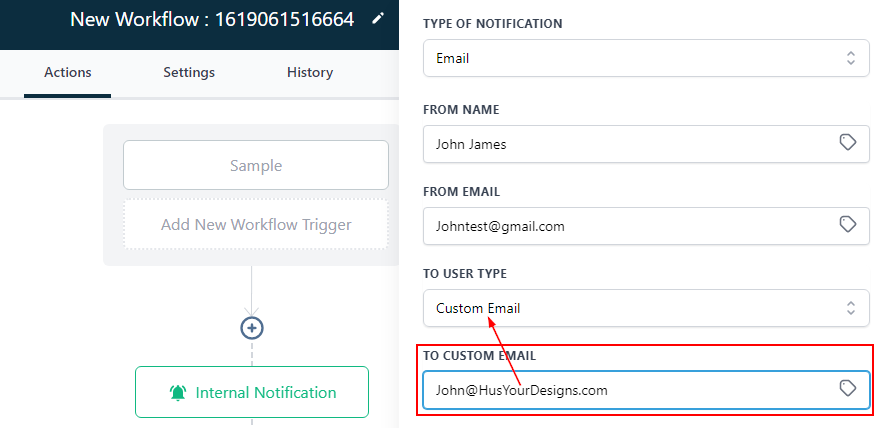
To User Type
Select who gets to have access to the contact.
All Users
By clicking "All Users" you can link this contact to all the team members.

Assigned User
If the contact is already assigned to a user, you can decide to choose this type, automatically it links the contact to that user.

Custom Email
You can also send an email to the contact using your custom email ( i.e your Domain name).
Particular User
You can assign the contact to a particular user by selecting the user. Usually for a contact who hasn't been assigned to a user yet.

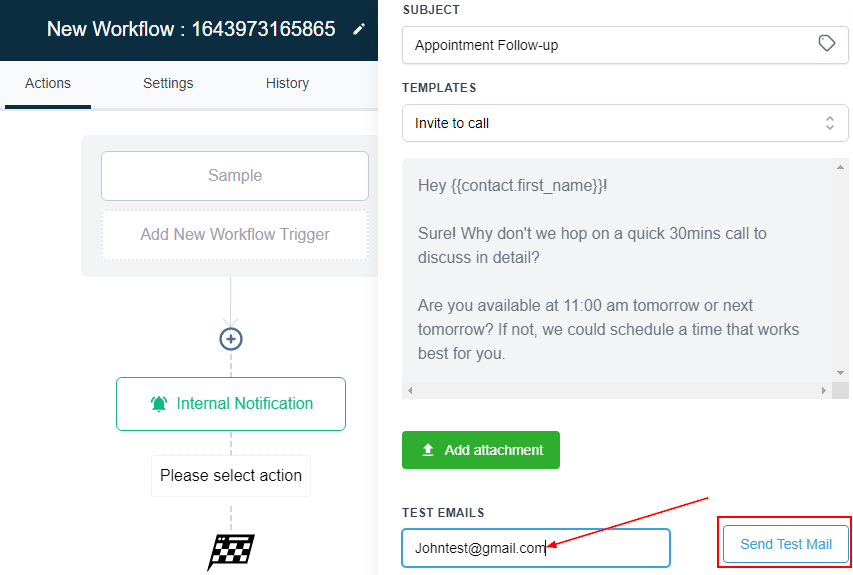
Subject
Type the subject of the email in this field.

Template
By clicking here, you can choose from all the templates you have created.

Message
In case you decide to customize your message, click on the "None" option in the Template section which will pop up the
Message section. Type the body of the message here.
You can also use the "Custom values" **** and "trigger links" as you desire.

Add Attachments
By clicking on this icon, you can add an attachment to this email.

Test Emails
The composed email can be tested here by inputting the demo email address. Click "Send Test Mail.
You can use your email address as your demo.
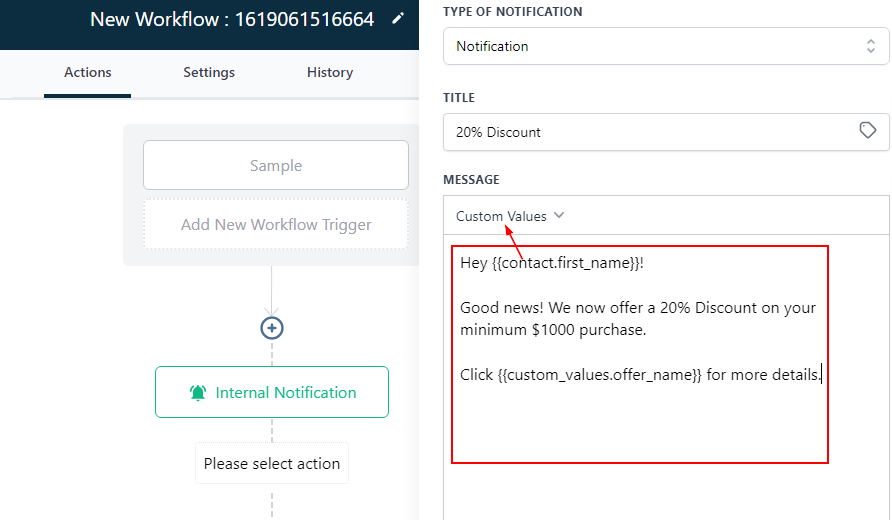
Notification
Title
Type in the title of the notification in this field.
You can also click on the Tag icon on the right side of the Field to use the custom value.

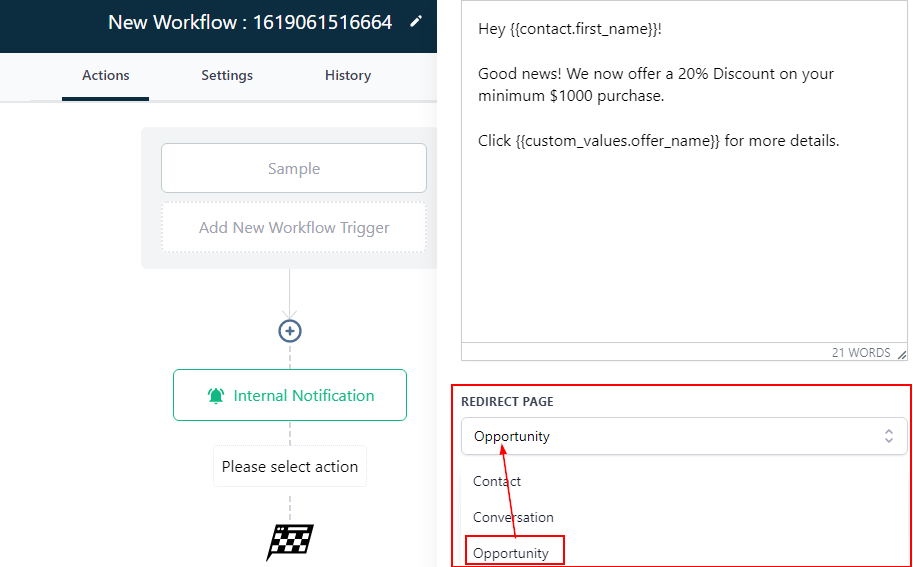
Message
This is the body of the mail. It is where you type the content of the message to be sent.
It also has a custom value icon on the upper left corner of the field.
Redirect Page
Select the page you want this notification message to be redirected to.
To User Type
Select who gets to have access to the contact.

SMS
To User Type
Select who gets to have access to the contact.

Templates
By clicking on this field, you can select from the available templates

Message
This is where you type the body of the message.

Add Attachment
You can attach files by clicking on this icon

Add Files Through URL
Add file through URL by inputting the URL into the field then, click on "+Add" to add the file.
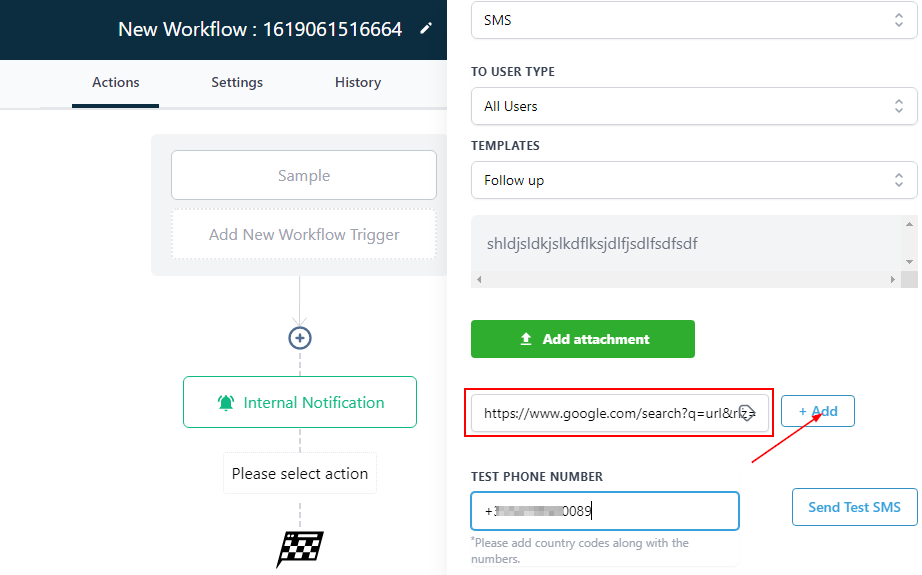
Test Phone Number
You can test the composed message by typing the demo cellphone number then clicking on "send test SMS" to send the message.
You can use your cellphone number as a demo.

Was this article helpful?
That’s Great!
Thank you for your feedback
Sorry! We couldn't be helpful
Thank you for your feedback
Feedback sent
We appreciate your effort and will try to fix the article